Are you looking to edit concert photos to make them stand out on Instagram and impress your followers? Luckily, you can level up your photography game with certain editing tricks.
To edit concert photos on an iPhone, open Photos and choose the picture you want to edit. Tap “Edit” and adjust the settings with various tools.
To make things easy for you, we took the time to write a comprehensive step-by-step guide on editing concert photos on an iPhone.
Editing Concert Photos on an iPhone
If you’re curious about editing Concert photos on an iPhone, our 3 step-by-step methods will help you accomplish this task without a sweat!
Method #1: Using the Built-In iPhone Editor
Follow these steps to edit concert photos on your iPhone using the built-in iPhone editor.
- Open Photos, select the concert photo you want to edit, and tap “Edit”.
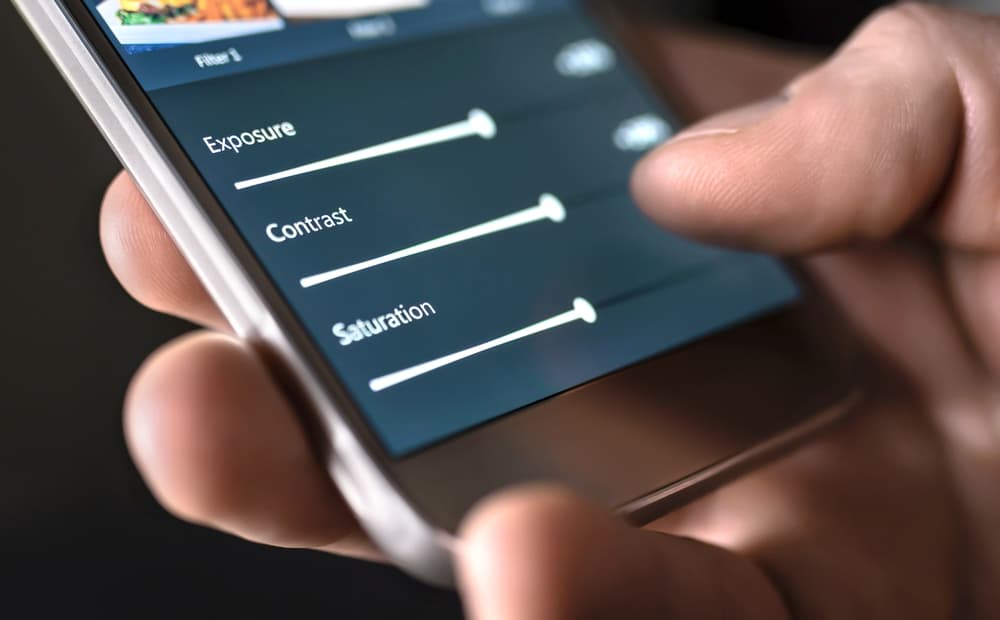
- Slide to “Exposure” and bring it down to add depth.
- Go to “Brilliance” and adjust to make your picture vibrant.
- Set the “Highlights”, “Shadows”, and “Contrast” as per your liking.
- Decrease the “Black Point” to add a faded effect to your picture.
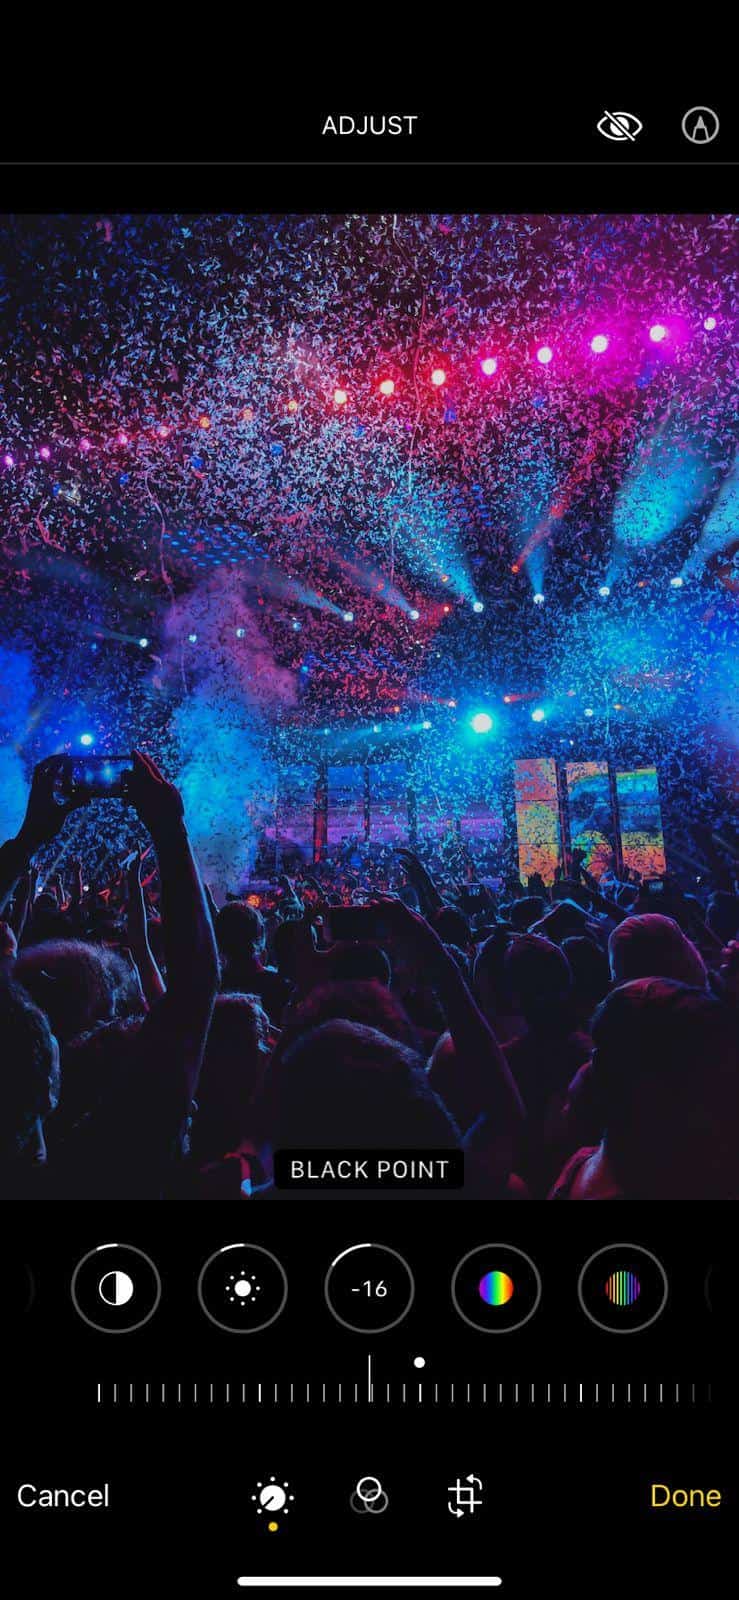
- Adjust the “Saturation”, “Warmth”, and “Definition” according to your suitability.
You have now added depth to an ordinary flat image by making it more detailed!
Method #2: Using VSCO: Photo & Video Editor
You can also use VSCO: Photo & Video Editor to edit concert photos on your iPhone.
Step #1: Downloading and Setting Up the App
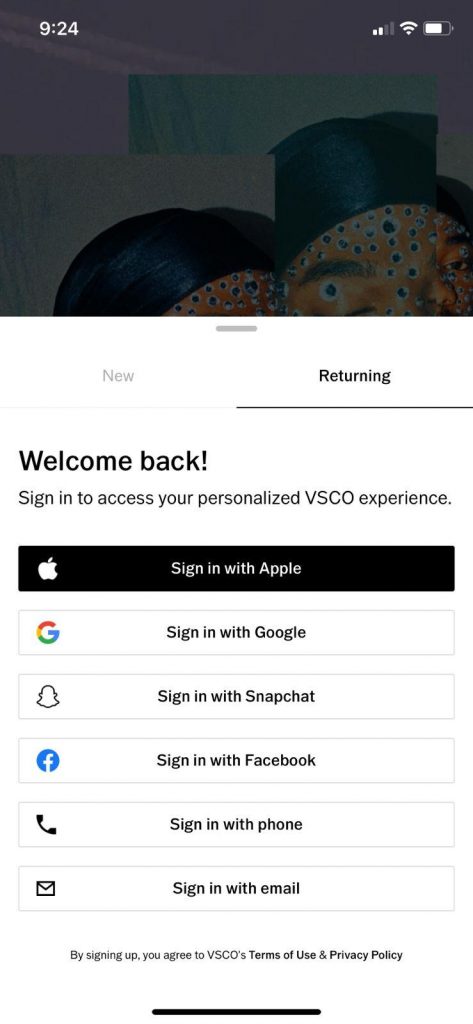
Open the App Store to install the VSCO: Photo & Video Editor’ app. Then, sign up to create an account using Apple, Google, Snapchat, Facebook, phone, or email.
Step #2: Editing Concert Photos
Once you’ve set up the app, tap the encircled “+” icon. Next, select the picture you want to edit and tap “Continue”. Choose the selected picture again from “Studio” and tap “Edit”.
Tap “For This Photo” and choose a preset. Then, adjust the picture by clicking the “Tools” icon. You can add texture to your photo by tapping on the “FX” icon.
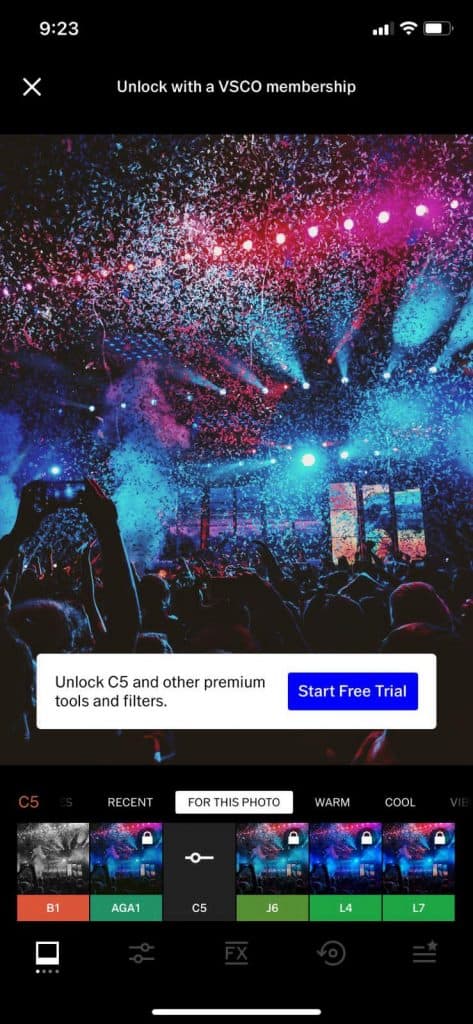
Step #3: Saving Edited Pictures to Photos
After you’re done editing your photo, tap “Next” and ensure to toggle the button beside “Save to Camera Roll”. Finally, select “Save to Camera Roll and Draft” to complete the step.
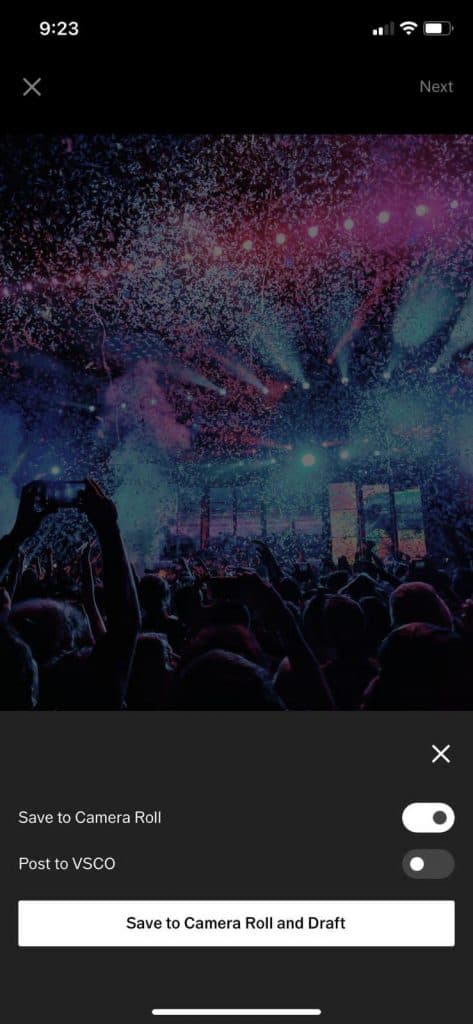
Method #3: Using Lightroom Photo & Video Editor
To edit concert photos on an iPhone, you can use the Lightroom Photo & Video Editor app for a more professional look with the following steps.
Step #1: Downloading and Setting Up the App
Open the App Store to download Lightroom Photo & Video Editor. Launch the app and access it with Adobe, Apple, Google, or Facebook. Now, set up your Adobe account with your details and tap “Continue”.
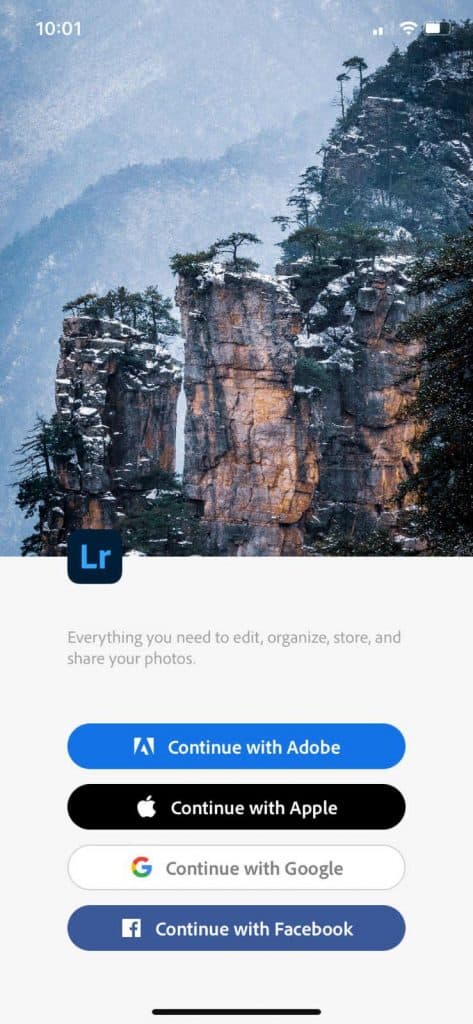
Step #2: Editing Concert Photos
Tap the photo icon and select “From Camera Roll”. Pick the picture you want to edit, tap “Add”, and select “All Photos”. Choose your photo and click the “Auto” button for a quick fix.
If you want to edit your picture from scratch, choose the “Crop” feature to straighten and frame your photo. Tap “Light”, decrease the “Exposure”, and increase the “Contrast”. Adjust the “Highlights” and “Shadows” as per your preference.
Tap “Color” to set the “White Balance” as per your liking and add depth by optimizing tools in the “Effects” tab. You can add more depth from the “Detail” tab and rectify lens errors by going to the “Optics” tab.
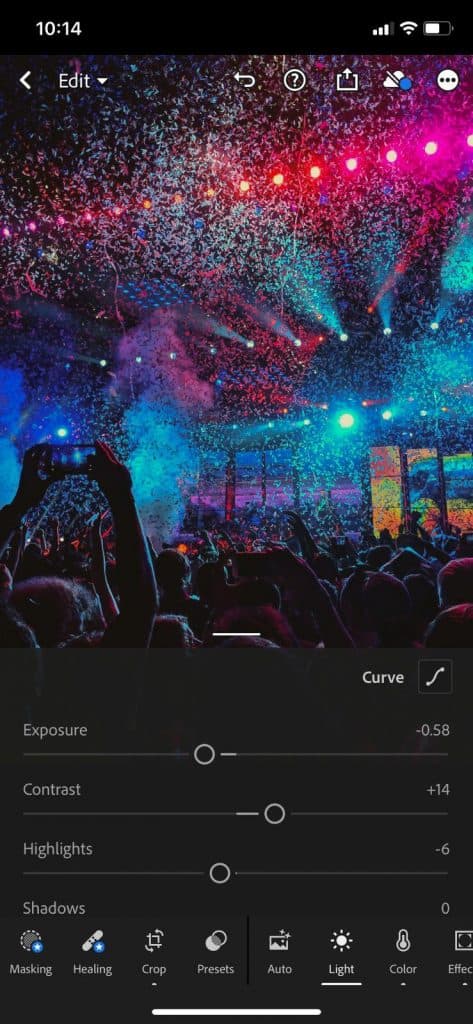
Step #3: Exporting the Edited Photo
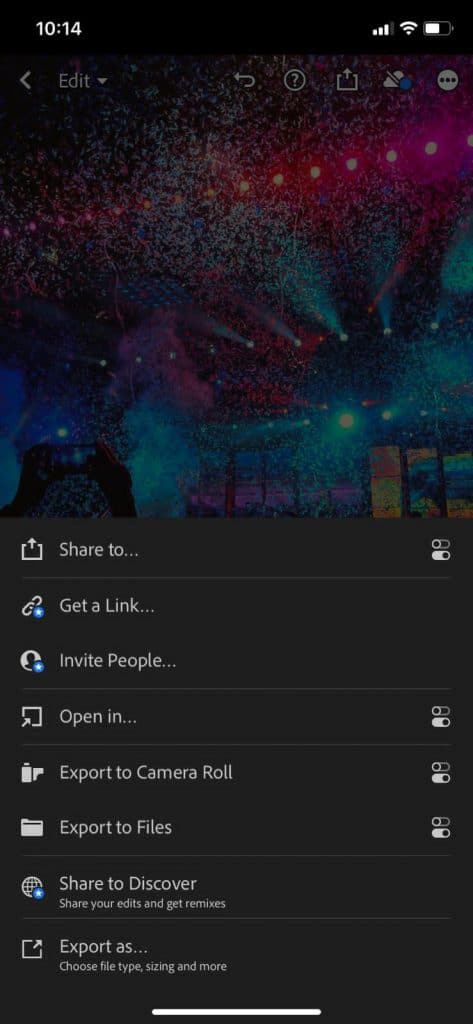
Now, tap the box icon with an outward arrow and select “Export to Camera Roll” to complete the process.
Shooting Concert Photos on an iPhone
To edit concert photos on your iPhone, they need to be captured in high quality so they won’t pixelate afterward. To help you out, refer to our following 3 methods.
Method #1: Using Night Mode
Follow these steps to shoot high-quality concert photos on your iPhone using Night Mode.
- Open Camera.
- Tap the upwards arrow iron.
- Tap the crescent icon.
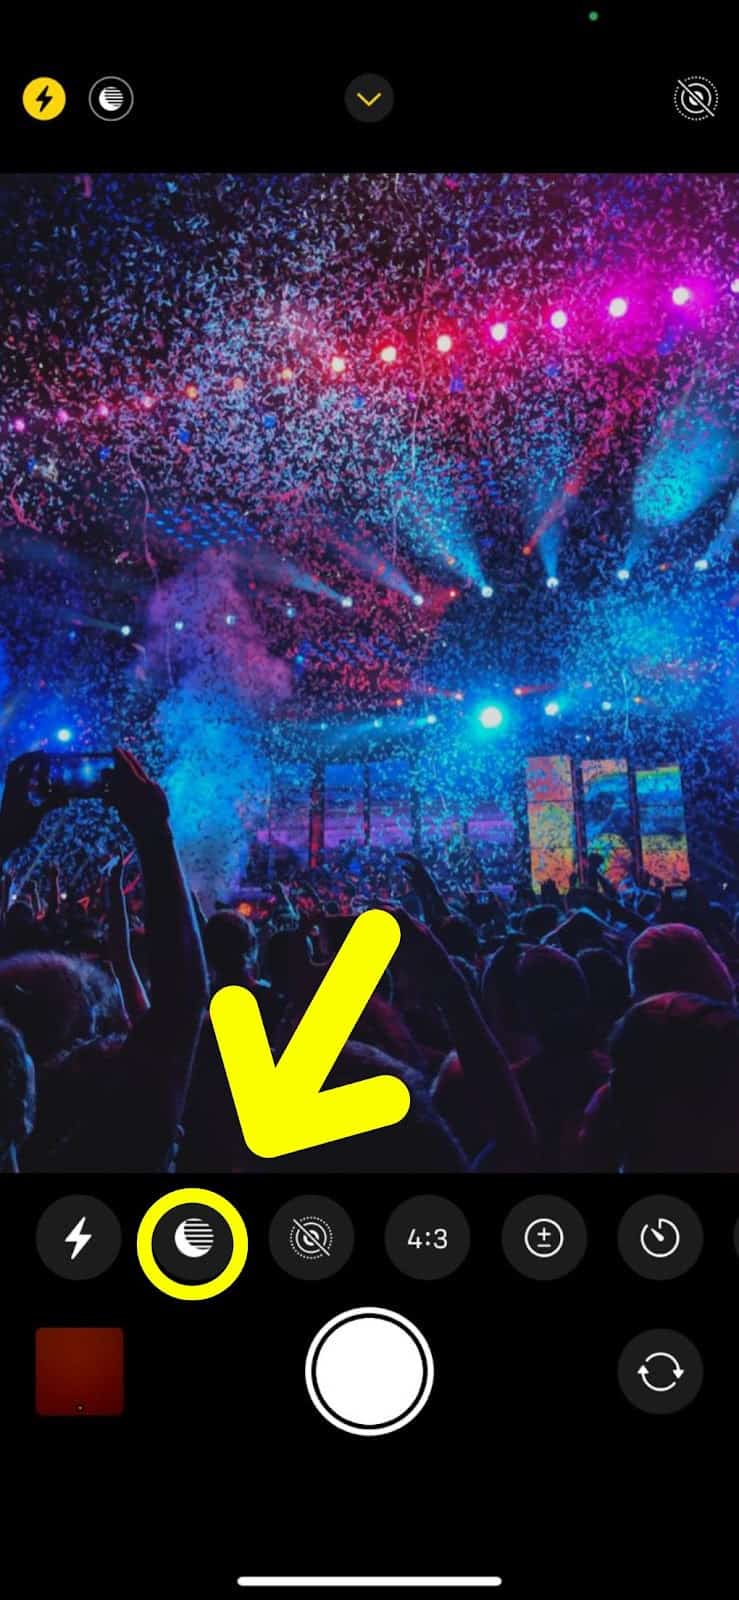
- Adjust the shutter speed as per your preference.
- Tap the shutter button and hold still to take a picture in Night Mode.
Method #2: Using Apple ProRAW
To make the photo editing process smooth, turn on the Apple ProRAW feature with the following steps.
- Open Settings.
- Tap “Camera”.
- Select “Formats”.
- Toggle the button beside “Apple ProRAW” until it turns green.

- Open the Camera app to take RAW photos that help preserve image quality after editing.
Method #3: Optimizing Exposure Settings
It is possible to take good-quality pictures at a concert by adjusting exposure settings with these steps.
- Open Camera.
- Tap the upwards arrow icon.
- Select the encircled “+ -” icon.
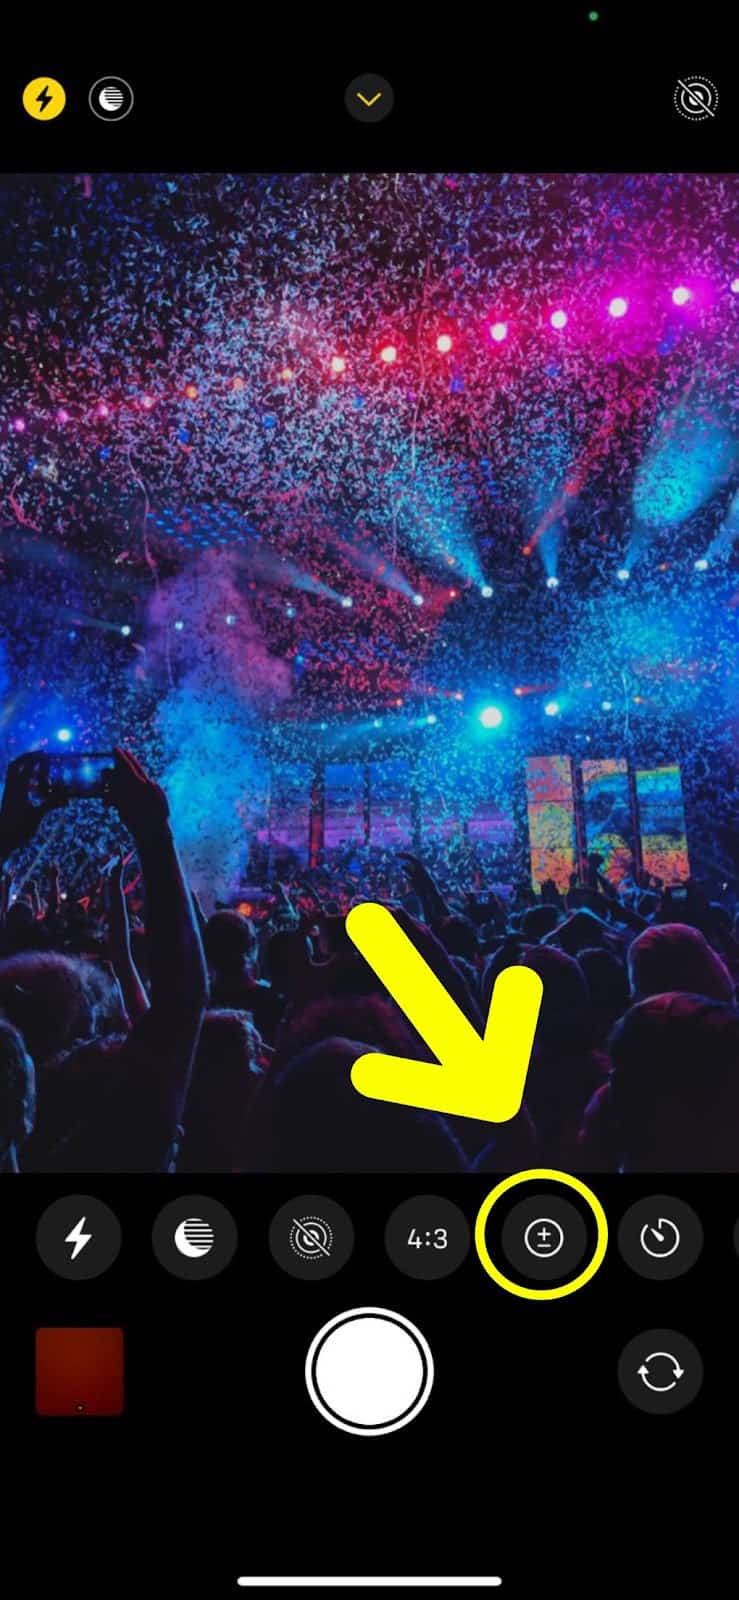
- Adjust the exposure by sliding the bar according to your preference and take a picture!
Summary
In this guide, we’ve discussed how to edit concert photos on an iPhone. We have also discussed shooting good-quality concert photos with your device’s camera.
Hopefully, your question will be answered, and you can impress others with your photography skills.


