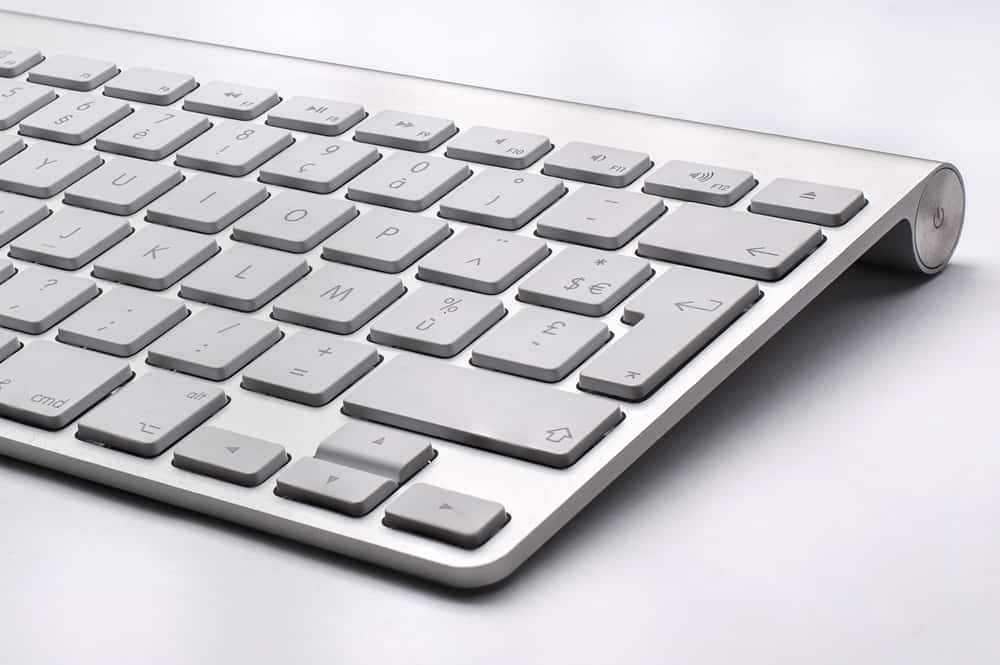
Are you facing problems connecting your Apple keyboard, or has your keyboard suddenly started acting up? Fortunately, resetting your Apple keyboard can help fix all these issues.
To reset the Apple keyboard, hold the keyboard’s Power button for 3 seconds until it turns off. Click the Apple logo on your Mac computer from the upper-left corner to open the menu. Navigate to System Preferences > Bluetooth and click the “X” next to your Apple keyboard. Turn the keyboard back on by holding the power button for 3 seconds.
We have taken the time to develop a comprehensive guide discussing multiple methods on how to reset the Apple keyboard quickly via keyboard re-pairing, factory reset, and other options.
Resetting Apple Keyboard
If you are wondering how to reset your Apple keyboard, our four4 step-by-step methods will assist you in accomplishing this task without much difficulty.
Method #1: Using Keyboard Re-pairing
The first thing you can do to reset your Apple keyboard is to pair it again by following these steps.
- Hold the power button on your keyboard for at least 3 seconds to switch it off.
- Select the Apple logo at the top-left corner of your Mac to open the menu.
- Navigate to System Preferences > Bluetooth.
- Click the “X” icon next to the Apple keyboard to remove it; select “Remove” to confirm.
- Press and hold the power button on your Keyboard for a few seconds to turn it back on.
Your Apple keyboard is now successfully reset.

Method #2: Using Factory Reset
Another thing you can do to reset your Apple keyboard is to perform a factory reset with these steps:
- Select “Bluetooth” from your Mac’s Menu bar and press the “Option + Shift” keys on your keyboard.
- Select the “Factory Reset All Connected Apple Devices” option.
This will immediately reset your Apple keyboard and mouse back to factory settings.

If you can’t find the Bluetooth icon on the Menu bar, you can enable it by going to System Preferences > Bluetooth > Show Bluetooth in the Menu Bar.
Method #3: Using Keyboard Preference File
Follow the steps below to reset your Apple keyboard using Keyboard Preference File.
- Unplug your keyboard from the Mac’s USB port.
- Click “Finder” from the Mac’s dock.
- Navigate to Devices > Hard Drive > Library > Preferences.
- Choose the file “com.apple.keyboard type.plist” and drag it into the trash.
- Hold the “Ctrl” key and click on the trash icon.
- Click on the “Empty Trash” option from the pop-up menu.
- Pair your Apple keyboard back to your Mac. You will see the Keyboard Setup Assistant launch on its own. Set up your keyboard now by following the on-screen instructions.
Method #4: Setting Keyboard Back to Default Settings
Another method for resetting your Apple keyboard is to set it back to the default settings following these steps.
Step #1: Opening System Preferences & Keyboard Settings
Click the Apple logo from the top-left corner of your Mac, click “System Preferences,” and choose the keyboard-shaped icon. This will take you to your keyboard’s settings section. Click the “Modifier Keys” option from the lower-right side.

Step #2: Restoring Default Settings
Select the “Restore Defaults” option, and click “OK” to confirm. This will wipe off all the preliminary information regarding preferences stored on your keyboard.
Step #3: Removing Text Replacements
Go to the “Text” tab on the right side of the “Keyboard” tab. Click any text replacement you want to remove and select the “–” sign from the bottom. Repeat this process for all the text replacements you wish to eliminate.

Step #4: Restoring Text Shortcuts
Head to the “Shortcuts” tab next to the “Text” tab to find all the keyboard shortcuts. Select “Restore Defaults” from the bottom-right corner to set all the text shortcuts back to their default settings.

Step #5: Opening Accessibility
Go back to the System Preferences window by choosing the back arrow from the upper-left corner. Go to Accessibility > Keyboard under the “Interaction” section. Remove the “Enable Sticky Keys” and “Enable Slow Keys” checkmarks.
Step #6: Restarting the Mac
Head back to the Apple Menu and click “Restart.” Select “Restart” when prompted. Wait for a few seconds till the Restart process completes.
Now your Apple keyboard will reset and go back to its default settings.

Summary
This guide explores different methods for resetting your Apple keyboard back to its default settings. We recommend you try the most uncomplicated way before trying the complex ones.
Hopefully, now you have successfully reset your Apple keyboard and fixed the issues in the process.
Frequently Asked Questions
To reset your wired Apple keyboard, shut down your Mac computer and simultaneously press the “Shift + Control + Option” keys on the built-in keyboard. Now release all the buttons simultaneously and turn on your computer.


