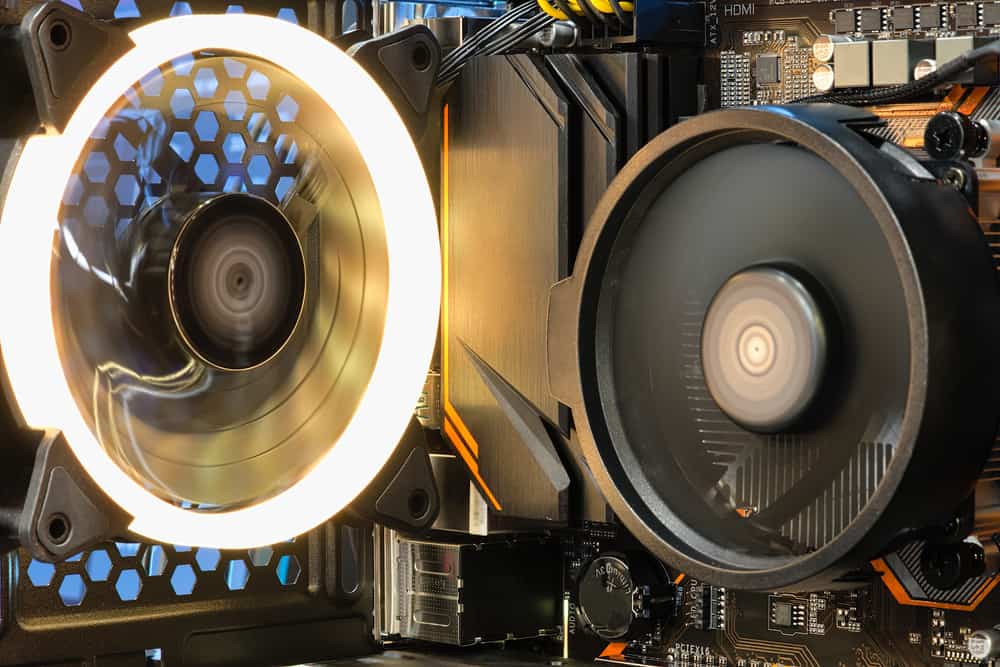
One of the main causes of overheating in PCs, especially the ones with modern motherboards, is when the internal fans are not operating at the required speeds. This is often due to the automatic fan controller not working correctly.
There are many ways to increase the CPU fan speed, but the most common and reliable way is from the BIOS menu. Another way to increase your computer CPU is with software or a fan controller.
The fan speed of your computer regulates itself automatically. Your computer adjusts the speed based on your hardware temperature. So, your PC fan will run slower when performing simple tasks like surfing the internet and faster when you’re playing a demanding game. If you would like to tweak the CPU fan speed of your computer to cool your PC better, then you’ve come to the right place.
Ways To Increase Your CPU Fan Speed
Sometimes your CPU fan doesn’t work as fast as it should, which can cause your PC to malfunction. Your PC may shut down unexpectedly, or several components could get damaged because of overheating.
However, knowing how to adjust the speed of your fan manually can help mitigate several issues that come with an overheated PC. Let’s explore the three ways in which you can increase your CPU fan speed to better cool off your system.
Method #1: Using the BIOS Menu
The quickest way to increase your CPU fan speed is with the BIOS menu. The BIOS or Basic Input/Output System is a firmware that comes preinstalled on your PC’s motherboard. It provides a runtime service for programs and operating systems to perform hardware initialization during the booting process.
The BIOS in your PC serves as a middleman for data flow between your computer OS and its hardware. This can include the hard drive, video adapter, and CPU fan. To enter the BIOS menu varies from computer to computer. Using the BIOS menu to control your PC fan speed depends on the type of PC. Some PC brands do not support this feature, so you may not find the option to adjust the fan speed in the BIOS on such PCs.
Here’s how to use the BIOS menu to increase your CPU fan speed:
- Restart your PC and wait for the first power on the self-test startup screen.
- Press the button indicated on the screen to enter the BIOS. On most computers, it is usually the “Esc,” “F10,” “F12,” or “Del” button.
- Use the arrow keys to navigate to the “Monitor,” “Status,” or similar name in your computer BIOS menu, then select “Fan Speed Control” from the submenu.
- Scroll down the Fan Speed Control menu and select the fan you want to tweak, choose the speed in RPM, and press “Enter” to save settings.
- You can repeat the steps for other fans you’d like to tweak, and when done, press “Esc” to exit the BIOS menu.
Method #2: Using Software
If you feel uncomfortable making changes in your PC’s BIOS settings, another option is to use the software. There is software you can download that will give you the option to tweak the speed of your CPU fan.
You can also use such software to keep tabs on other vital information about your PC, such as your hardware’s voltage, temperature, etc. Software like Speedfan and MSI Afterburner is another excellent option you can explore.
Here’s how to use software to increase your CPU fan speed:
- If you want to use Speedfan, download the app and launch it.
- At the top of your screen, tap on the “Fan Control” tab to tweak a specific fan.
- Select the fan you want to tweak, set the speed you want to use in RPM, and then click on the “OK” button to confirm.
Method #3: Using a Fan Controller
Finally, another way you can tweak your CPU fan is with a fan controller. This feature is handy in a PC build that is often overlooked to save cost. But with the fan controller, you can easily adjust the fan speed of your build.
If your PC build features a fan controller, you don’t need to go to the BIOS menu or use software to adjust the fan speed on your PC. When you have a fan controller on your PC build, the fans are hooked directly to it rather than to the PSI or motherboard.
Here’s how to use a fan controller to increase your CPU fan speed:
- Choose a fan controller that suits your needs and install it on your PC build.
- If you don’t know how to install a fan controller, take your PC build to a professional to have it.
- Most fan controllers use a touchscreen or dials, which you can use to adjust the CPU fan speed.
It is always better to let your computer automatically adjust the speed of the fans to keep the CPU temperature to a minimum with the best power consumption.
Summary
As you can see from this article, adjusting the fan speed on your PC is possible. And if your PC has multiple fans, you can adjust the speed of each fan by selecting the fan and choosing the desired speed.
Frequently Asked Questions
You sometimes get a CPU fan speed error caused when your CPU fan sensor is not working correctly. To fix this error, you have to replace your fan. Alternatively, you can check if the error is caused by a hot processor using a third-party app to confirm the temperature.
When your PC fan is running fast, it is because the PC is handling a very demanding task; hence the fan is overworking to keep the CPU and internal components cool. To fix this, exit from any high demanding application on your PC.


