Short answer
Set the monitor to its sRGB or Standard picture mode, and turn off night light and automatic brightness. Check blacks, whites and gamma with a test pattern. Then run the calibration built into your computer: Calibrate display on Windows, the Display Calibrator Assistant on a Mac. By eye you can fix a picture that is clearly too dark, washed out or tinted. Exact colours need a measuring device, a colorimeter.
What calibrating by eye can and can’t do
By eye can
Free
Show detail in the darkest and lightest shades. Set gamma close to 2.2, the usual setting. Remove a colour tint you can clearly see. Undo a picture mode that is far too bright or vivid.
By eye can't
Needs a colorimeter
Measure and set the white close to 6500 K, or the brightness to a set level. Make two monitors match closely, or make the screen match your prints.
The reason is your eyes. They get used to the light in front of them, so after a while a slightly blue or yellow white looks white. Colour scientists call this chromatic adaptation. A colorimeter doesn’t adapt: it measures the light and writes a colour profile. Microsoft says the same about its own tool: a measuring device gives a better calibration than its visual one.
For everyday use, you may not need either. Apple says calibrating isn’t usually necessary for a Mac at home or in an office.
Before you start
- Leave the monitor on for about 30 minutes, so its colours settle.
- Set the screen to its own (recommended) resolution. Text too small then? Make it bigger with Scale, not a lower resolution.
- Light the room as you usually do, and avoid light shining on the screen.
- Turn off anything that changes the picture by itself: Night light on Windows, Night Shift and True Tone on a Mac, automatic brightness, and the monitor’s dynamic contrast or eco modes.
- Turn off HDR for now. HDR has its own calibration, shown below.
1. Pick the right picture mode
Open the monitor’s menu with the buttons on its edge or back.
- If someone has changed many settings, start with the monitor’s Reset or Factory reset.
- Choose the sRGB picture mode if there is one. On a monitor with extra-wide colours, sRGB mode stops everyday photos and websites from looking too vivid.
- No sRGB mode? Choose Standard. Set the colour temperature to 6500K (sometimes called D65), and Gamma to 2.2 if it has a gamma setting.
Laptops have no monitor menu: skip to step 2. Menus differ on each model. Your monitor’s manual names the settings.
2. Check blacks, whites and gamma
Test it now
Monitor gamma test
Four patterns fill your screen, and you choose what you see on each. The result says whether your darkest shades, lightest shades and gamma look right, and which setting to change if not.
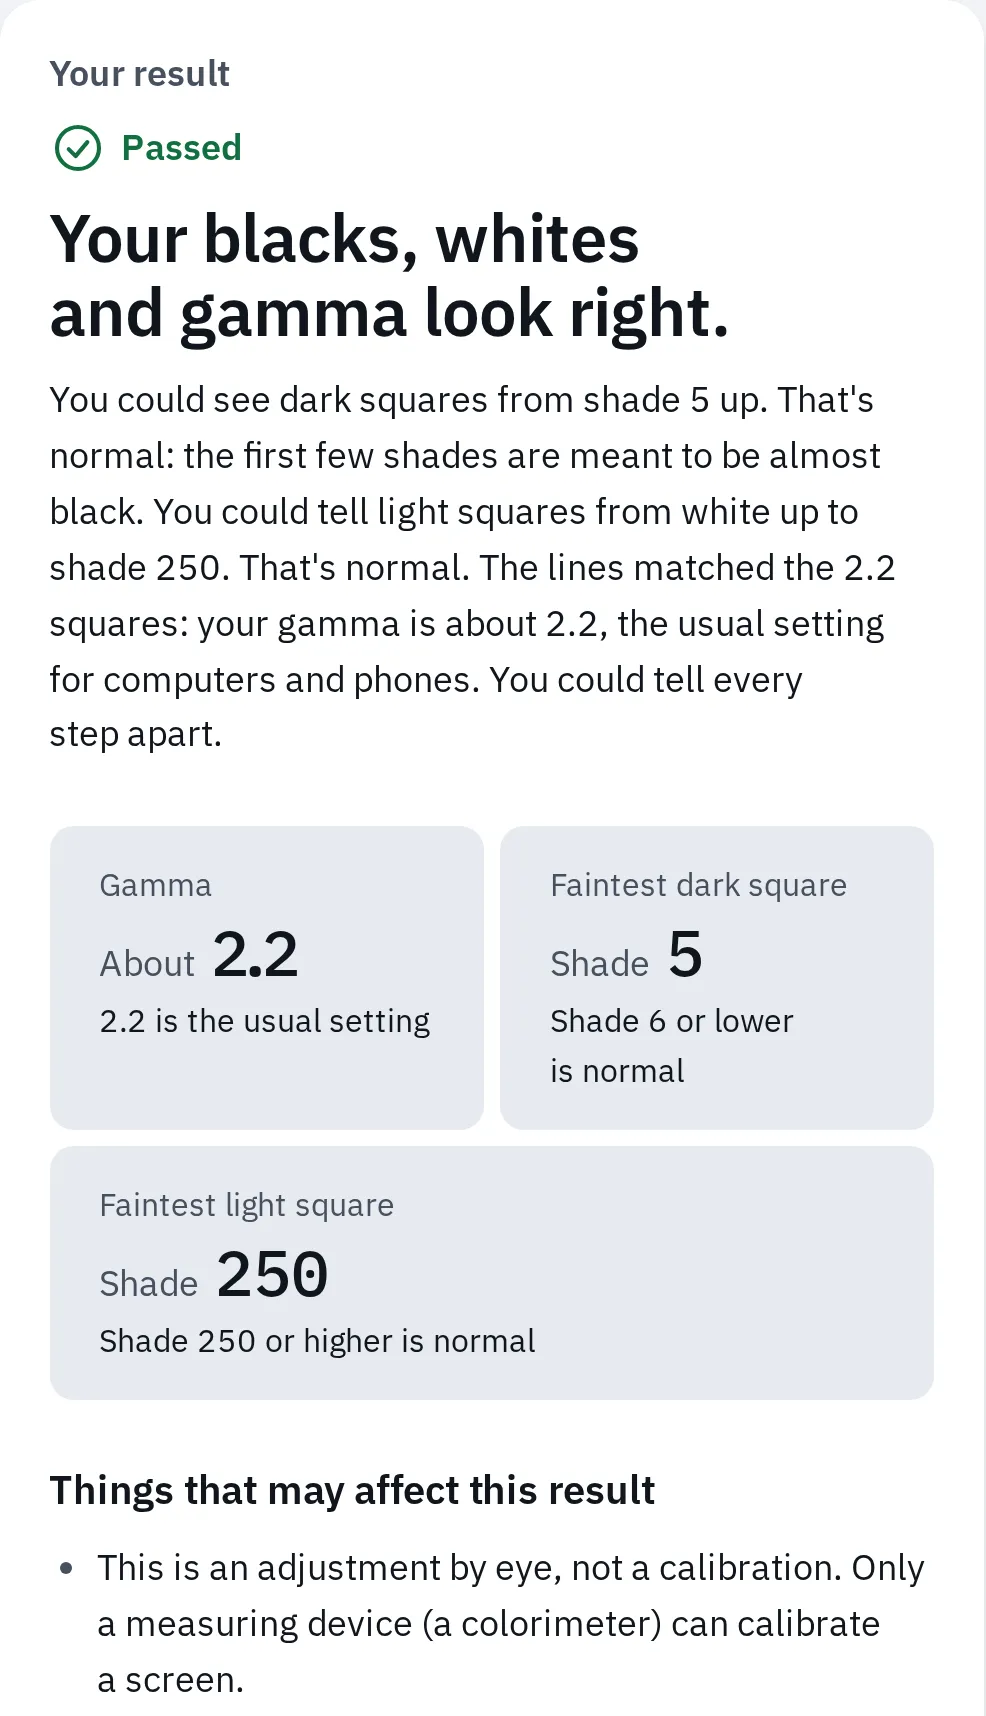
A good result: dark squares from shade 5 up, light squares up to shade 250, gamma about 2.2.
Change one setting at a time, then run the pattern again.
3. Look for a colour tint
- Open the grey screen and choose Light grey.
- Look at the middle and then each side. Is it bluish, yellowish, greenish or pinkish?
- Look away at something else for a minute, then look back. Your eyes get used to a tint, so a fresh look helps.
- If the whole screen has a tint, change the monitor’s colour temperature, or its red, green and blue settings, a little at a time. Or fix it in step 4 with your computer’s colour balance.
A tint only at one edge or in a patch is the panel, not a setting. The grey screen help explains what is normal. For a strong blue tint everywhere, see how to get rid of a blue tint. The white screen helps you compare warm and cool white.
4. Run your computer’s calibration
Windows
Open it: with more than one screen, first move the Settings window onto the screen you want to adjust: Windows calibrates the screen the tool is on. On Windows 11, open Settings System Display Color profile and select Calibrate display. On Windows 10, type calibrate display color in the Settings search box.
Microsoft’s tool walks you through these steps. Some screens can’t change every setting, so a step may not apply to yours.
- Basic settings: it asks you to set up the monitor as in step 1 above.
- Gamma: drag the slider until the small dot in the middle of each circle disappears.
- Brightness: with the monitor’s buttons, set it so you can tell the shirt from the suit in the picture, and the X behind the person just disappears. On a laptop, use its brightness keys, often with Fn.
- Contrast: set it as high as it goes while you can still see the buttons and wrinkles on the shirt. Laptops usually have no contrast control: skip this step.
- Colour balance: drag the red, green and blue sliders until the grey bars look neutral grey, with no tint.
- Compare: switch between Previous calibration and Current calibration. Select Finish to keep the new one, or Cancel to keep the old one.
- Leave ClearType Tuner ticked if you’d like to make text sharper too.
The tool saves a new colour profile for that screen. To go back, remove it in Settings System Display Color profile. On an external HDR screen, Calibrate display opens the Windows HDR Calibration app instead.
Mac
- Open Apple menu System Settings Displays. You may need to scroll down.
- Click the menu next to Color profile and choose Customize.
- Click the Add button (+). Display Calibrator Assistant opens.
- Follow its steps. How many there are depends on your screen.
- When it’s done, your Mac uses the new profile straight away.
To go back, choose the profile you had before in the Color profile menu.
A Pro Display XDR, a Studio Display, and 14-inch or 16-inch MacBook Pro models from 2021 on use the Pro Display Calibrator instead, under the Preset menu in Displays settings. Its full calibration needs a measuring device; Apple’s guide for your display lists what you can adjust without one.
Calibrate an HDR screen
On Windows 11 with an HDR screen, use Microsoft’s free Windows HDR Calibration app from the Microsoft Store. It sets up HDR games and films.
- Turn HDR on in Settings System Display, then open the app. With several screens, put its window on the HDR screen. It runs full screen.
- On each of the three test patterns, drag the slider until the pattern is no longer visible. They set the darkest details, the brightest details and the screen’s top brightness.
- Choose how strong the colours should be. The app saves a new colour profile for the screen.
Not sure HDR is really on? The HDR test checks it.
5. Check the result
- Turn HDR off if you turned it on. Then run the gamma test again: all four patterns should look right.
- Run the colour banding test. Smooth gradients mean the new settings haven’t added stripes.
- Look at a few photos you know well. If skin looks too red or grey looks blue, repeat step 3 or 4.
When a colorimeter is worth it
- What Windows and macOS expect (EIZO)
- 2.2 gamma
- White for everyday use and sRGB (EIZO)
- 6500 K
- Brightness the sRGB standard was designed for (W3C)
- 80 cd/m²
A colorimeter measures how close your screen gets to these targets, which your eyes can’t. Consider one if you:
- edit photos or video for other people, or print photos and want them to match the screen,
- use two monitors that must look the same,
- work with colour for a living.
A colorimeter sits on the screen while its software shows colours, measures them and saves a colour profile. Monitors change slowly as they age, so makers suggest measuring again regularly: EIZO says every 200 to 300 hours of use, Calibrite every 4 to 6 weeks.
Questions people ask
Can I calibrate my monitor online?
A web page can show test patterns, as our gamma test does, and you change the settings by eye. That’s an adjustment, not a true calibration. Only a colorimeter measures the screen.
Should gamma be 2.2 or 2.4?
Use 2.2 for everyday use: Windows, Macs and most websites, photos and games expect it. 2.4 is darker and suits films in a dark room.
How do I calibrate a laptop screen?
Laptops have no monitor menu, so skip the picture mode. Turn off automatic brightness, night light and True Tone, then run the gamma test and your computer’s calibration. See the gamma test’s tips for laptops.
Why do my colours look different on each monitor?
Each panel has its own colours and settings. Set both to the same picture mode, colour temperature and gamma, then calibrate each one. By eye they get close; a colorimeter helps you match them more closely.
How often should I calibrate?
By eye, when something looks wrong, or after you change the monitor’s settings. With a colorimeter, follow its maker’s advice: every few weeks for colour work.